Wednesday, January 25, 2012

Awesome "Boy Valentines."

Another fun project my son and I did together were these awesome "boy valentines" that I found via Pinterest from meckmom.com,  http://www.meckmom.com/2011/02/04/free-star-wars-valentine-printable/. She included the downloads for free, which was really great. Follow the link to her website for the download and for detailed directions.

 First we purchased and gathered up all the supplies. After that, All we did was print them, cut them out, cut out the circles with a punch, and glue them onto the Reese's. Then we placed them into small bags, stapled the tops closed, and stapled the tags on top. Voila! My son LOVES them.

It dawned on me that this idea could be used for lots of things besides Valentines. I am now also pretty good with making this type of thing on the computer, so I can design my own. I could use them as class gifts, party favors, etc. I am definitely going to run with this idea.

Owl tags

I made cake pop tags for Roxy's Sweet Treats again. I am getting really fast at these. Barring technical difficulties, I can whip them up in like 30 minutes, tops. It kind of makes me curious about people who sell these. How much do they make on these? Making them drains print cartridges and paper pretty quickly. If you buy graphics, you have to pay an extra $20 per graphic if you are going to sell them commercially. I wonder if they actually make a profit?

Sunday, January 22, 2012

Family Picture Art

I saw a really cute idea for a family portrait on a blog that I came across via Pinterest, that did a similar idea to the project below. This afternoon, my son and I did this project together in just a few minutes. We love to do projects together, and it will be something that I will cherish forever.

First, I had my son carefully draw a family portrait onto a square canvas, simply using a Sharpie marker.( I used a few items that were laying on the kitchen table to rope off the top portion of the canvas!)


Then I used my Cricut machine to cut out the letters. This, frankly was the hardest part of the project. I have never had much success with cutting letters with the Cricut. The letters always rip and/or the Cricut makes random cuts across the letters. It may have been just as easy to print them on Word and cut them out by hand! But I have a Cricut cartridge "Sophisticated," that had the phrase "Family is Forever" as a premade option, and since I always say that particular phrase to my son, I decided to use it. It would also be cute to have the family last name at the top, or any other phrase you can think of.


Then I used a repositionable glue stick to glue the letters on. I didn't want to use my usual spray adhesive because I wanted to be able to reposition the letters if needed. Even so, they weren't centered perfectly. I should have used a ruler in retrospect. This is the first time I've tried gluing lettering, so now I will know that tip for next time!


After gluing the letters, I painted over the entire canvas, including the sides, with Anita's Semi-Gloss Varnish. I'm sure that Modpodge would have worked also.

Once it's dry, I will add it to our hallway gallery of black and white photos. I'm sure that it will make a wonderful addition to our family memory wall.

Class Photo Flower Arrangement for Open House


I was looking for ideas to jazz up our classroom for Open House, and I came across this adorable idea for a photo bouquet on Pinterest. Using a few materials from the Dollar Store and my own paper and supplies, I made it in just a couple hours. It was pretty straightforward, but basically I printed the photos on photo paper. I used a template to print them that was on my computer. I think it was 4 4X6 photos per page. Then I cut out the faces with my circle punch, I think it's 2". I then cut a variety of scallop circles with my 3" die cut on cardstock. I hot glued a skinny candy stick on the back. I placed 2 pieces of florist foam inside the plastic flowerpot (both from Dollar Store.) Then I poked the flowers in, which was the hardest part as I had 24 of them. A wider, more narrow pot may have worked better in terms of being able to see all the faces. Anyway, then I filled in the top of the flowerpot with moss from the dollar store, added my little message on the pot using a Sharpie, and Voila! Later this year, I think we might reuse the flower as some sort of Mother's Day gift or use it in a project.

Sunday, January 15, 2012

Creating a Cute Blog & Mobile Blogging

Ooh, I figured out how to post from my iPhone!!!  This will take me WAY less time to update my blog. Maybe now I will have more time to update it. Perhaps now when I update my blog I won't have to stay up until 11pm, neglecting housework, much needed sleep, and my diet (because I HAD to eat some candy someone gave us for Christmas while I sat in front of the computer.)

Next up, After several hours I FINALLY figured out how to add a cute header and background to my blog. I found it on shabbyblogs.com. I even figured out how to edit the header that I downloaded in powerpoint and add text to it, which I had no idea you could do before today. It took me forever to figure out how to tweak a few more things, such as getting rid of a big space below my header, but I finally did it. I feel like I have a better handle on how to make my blogging easier and more fun, and most of all I'm excited because it looks SUPER cute! It's interesting because I'm finding that I enjoy making creative things on the computer, and that really didn't occur to me before. Maybe it's because I'm not really artistic per se, but a computer can do it for me. Very interesting...

Toy Story and Butterfly Cake Pop Tags, January 14

My creative project of the week was cake pops tags that I made for my sister-in-law, Roxanne's baking business (see Roxy's Sweet Treats on Facebook.) I tried a new program this time, Microsoft Publisher, and I had studied up and played around with it for a few weeks in advance. I learned some new techniques and tips to make it easier, and also perfected them a bit with learning how to center them better. Here they are!

Blogging: A major project

Since I am new to the world of blogging, the act of creating my blog is a very creative outlet for me as well. I enjoy writing and journaling, so that part is easy. However, trying to figure out how to format my blog, use blogger, etc. is totally overwhelming me!!! I can't figure out anything right now, but at least I got something slapped together for now. Trying to figure out how to blog is taking away my crafting time! This blogging thing is going to be tough to do every week, unless I can find a quicker way of doing it, especially downloading pictures.  I have to stay up after my hub goes to bed because I know he will make snarky comments about my computer usage otherwise. WHO HAS TIME FOR THIS?! O.K.. Frustration attack over. I'm thinking that this must just be a learning curve issue. I will get much faster at this. I think I can, I think I can.

This only reinforces my point that I am using this to keep track of my own creative process and am not out to impress anyone with my fancy blog!!! Perhaps someday I will be brave enough to let friends and family know about it, but for now, mums the word.

La Befana Banner

My second project of the New Year was born out of a need for something that I would never find in a store. My family is Italian-American, so each year we celebrate "La Epifania," or the Feast of the Epiphany (January 6.) The tradition in Italy is for "La Befana," best described as a Christmas witch, to deliver presents to children on the eve of January 5. Legend has it that she is searching for the Christ Child, and so she gives every child a present, hoping that one will be the Christ Child. My family has continued this tradition, as I have with my own children, even though my children are the 4th generation born in America. I love how traditions such as these can keep our cultures alive for our own children.


So, this year my son asked if we had any "Befana" decorations. Besides the special stockings I had custom made from a woman I found online, there are really no other decorations available here in the U.S. So I ordered a Befana papercraft witch on etsy, and then I used it to embellish my own banner that I made with my Cricut machine. I really did not put much planning into this, I didn't even go out and buy ribbon or paper. I just used what I had and pumped out the whole thing in an hour and a half, tops. That was record time for using my Cricut for a banner! One thing I discovered was to keep track of my projects in a notebook so I know what size to use on my machine and other details like that. This way I don't have to go through the trial and error of using the Cricut each time I want to make a banner. By the way, "Buona Epifania" means "Happy Epiphany."

New Year's Cake Pops and Tags: First Project of the Year

My first creative project of the year was to make cake pops using my new Nostaligia Electrics cake pop maker. My son and I enjoyed making them together. I finished up the project by making New Year's tags to adorn the cake pops.


I found the cake pop maker to work pretty well. I am not a fan of cake pops usually because I find them to be too sweet and moist, but this wasn't the case with the cake pop maker. However, this maker makes 6 large cake pops (donut hole size) and they barely fit in the traditional plastic bags used to wrap cake pops. Not a bad start to the year!

Wednesday, January 4, 2012

Projects That Got Me Started

  
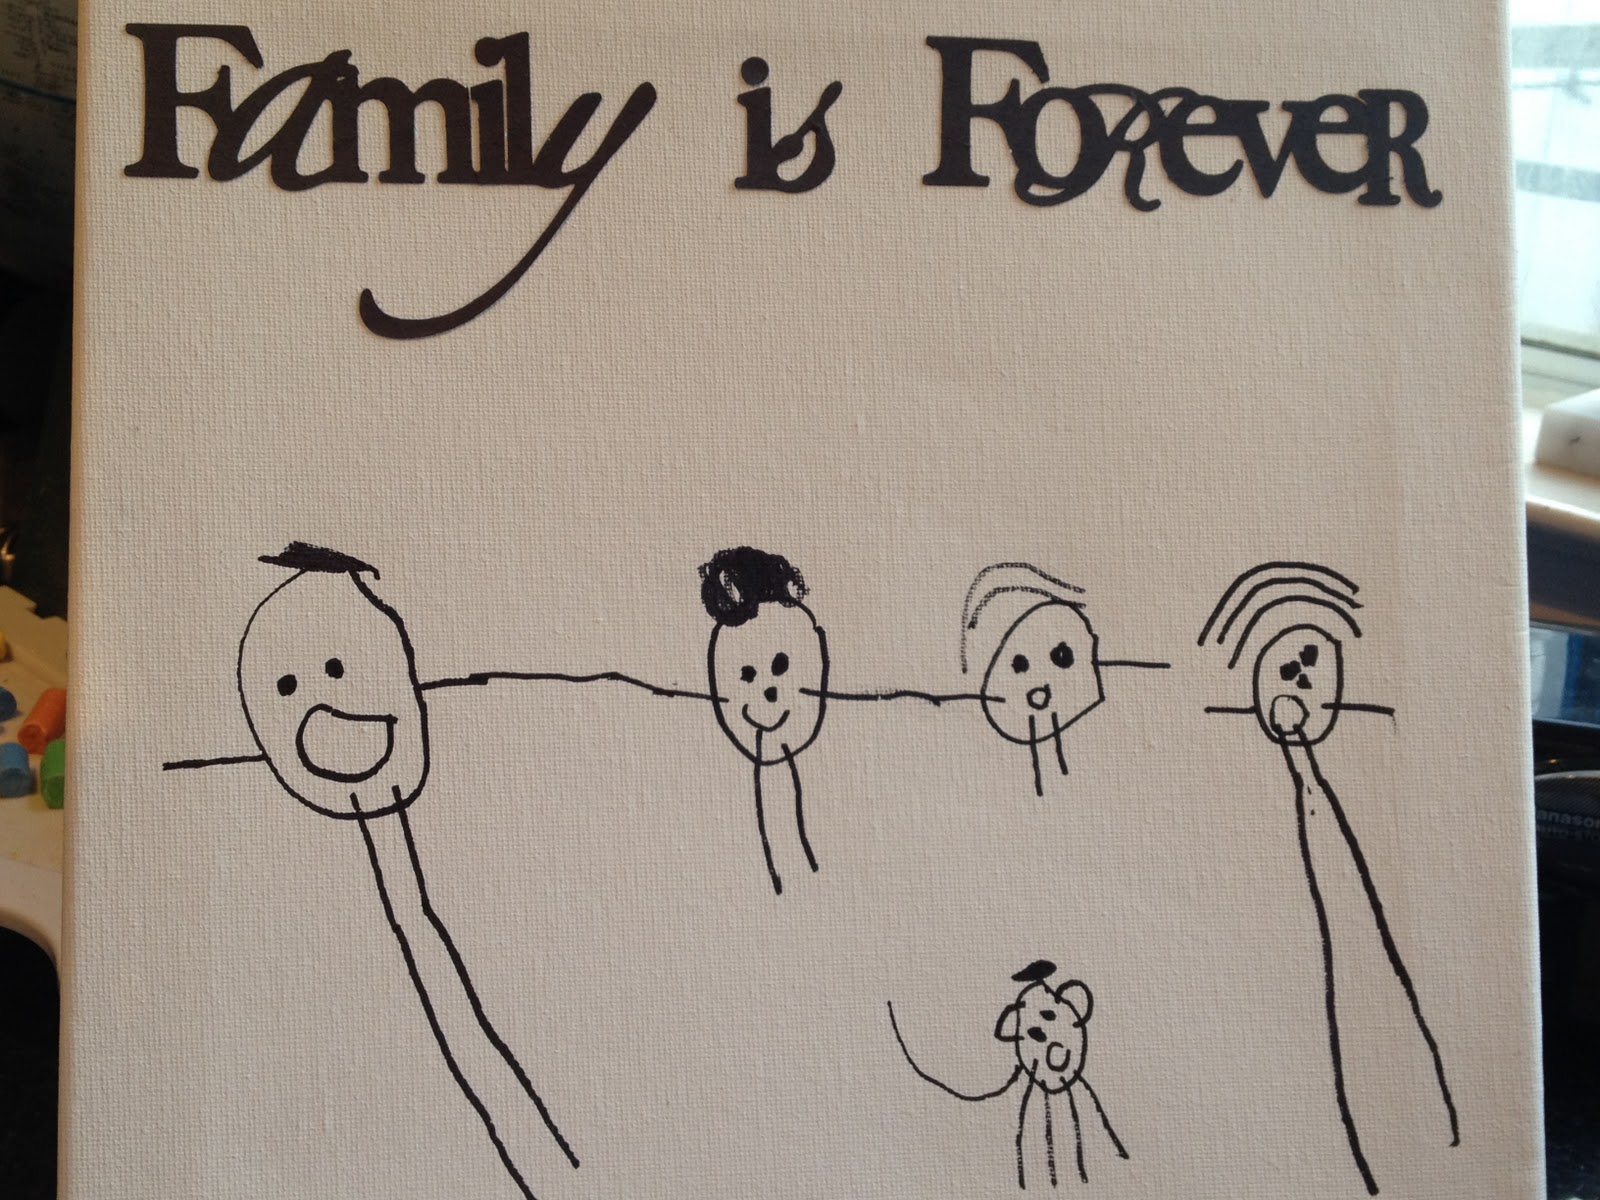
I've been doing some creative projects over the past few months, and doing those is what has led me to this point. I started making party decorations, such as cupcake toppers, centerpieces, and banners for frugal reasons. I have 2 kids who both have birthdays in October, and it made sense to make some of my own decorations. I expanded on my computer skills and learned how to design some simple things myself, as well as how to purchase graphics from the internet. I also now have a Cricut machine and have tinkered with it to some extent. I got some fun ideas from Pinterest for projects that got my creative juices flowing.They may not have been completed in 2012, but they were definitely a big part of getting me to this point.
                                                                            One of my first paper centerpieces "The Future Looks Bright" for a parent event at my school.


I bought these stickers on etsy, and made them into Halloween Birthday cupcake toppers.


Snow White cupcake topper, this was an early design.        


 I thought these came out pretty well, and I tied it all in with a "Little Pumpkin Theme".

                                                                       
My first banner on the Cricut machine. I only burned through one blade and cutting mat and 9 million reams of paper trying to figure out the dang thing.                 


Owl centerpieces for a school event.


                                                                           My second banner on the Cricut machine. It took hours, but I was able to add more detail. I was really happy with how this turned out. Too bad it was covered with cake and had to be thrown away. This was for "Our Little Pumpkin is Turning One" party.

I couldn't find party bags to go with my "Little Pumpkin" theme, so
I made my own.

Schnazzy cupcakes that I saw on Pinterest and made myself.

Snow White Party Centerpiece, this was an early design as well.

Computer design for Ladybug party tags. This was my first project for my sister-in-law's baking business, Roxy's Sweet Treats (Roxy's Sweet Treats on Facebook.)


More party picks for our "Little Pumpkin" Party. I had some extra paper, and found a creative way to use it.

                                                                                            Snowman idea modified from a project on Pinterest. I made it with my son, and will be making this with my second graders in the future.


As I look over these projects, I'm proud of what I've learned in just the last 3 months or so. I can't wait to see what I will be able to do a year from now if I stick to my one project a week goal!

What am I doing here?!

So, I don't have any talents. I know my friends and family are going to argue with me on this one. "You are a wonderful person!"  "But you're such a great mom!"  "You're a great teacher!"  "You read really fast!" That's great and all, but that's not what I mean by a TALENT. For example, my brother plays the guitar. My other brother is a community organizer. My husband can make just about anything. My mom is a fantastic cook. You get the picture now? (And no, I don't really consider teaching a talent. It's a career that I was trained for.)

I'm kind of a jack of all trades, master of none. I've tried just about every hobby there is, but managed to self-sabotage myself every time. I tried dance as a kid, but got bored with practicing. I did theatre for a while, but after getting progressively worse roles with each play I did, I figured it wasn't really my gift. Sports, you ask? Unless benchwarming is a sport, I'm going to have to say no. Musical ability? Tried it, but couldn't read music to save my life. I enjoy writing, and do it fairly well, so I tried writing a novel when I was 15, but lost interest because I figured no one would ever read it. A few years ago, I thought of an awesome product to invent, but decided I would never get the financial backing needed to produce it, so I let it slide. Karate, Archery, Stained Glass...been there, done that. Some things I picked up better than others, and do fine at, but never really stuck with them. I find that I really like doing creative things, but I don't really do any of them really well. I can cook, bake, do DIY projects, decorate my house, adequately, but I wouldn't say I do them well enough to be considered a talent.

So as a busy mom, wife, 2nd grade teacher, friend, sister, daughter, etc. I don't have a whole lot of time for myself. It's hard to put myself first when there are so many others who need my time and energy. Over the past few years I've been more in touch with myself; who I am and who I want to be. Part of that process is making the time to do things that I enjoy and feeling good about the person that I am and that I am becoming. I find that craft projects can be a good way to give me that time, and make me feel a sense of accomplishment, while benefiting my family in some way.

Recently, I was exposed to the wonders of Etsy, Pinterest, and all the related bloggers out there that post their amazing projects and creations. It's so fun to admire their creativity and creations. I found that it inspired me to expand on my creativity and my experience from dabbling in so many hobbies. So in the last few months I've began trying to recreate projects I found online, and sometimes using the ideas in new ways that work for me. I started thinking that it all makes sense, because creativity is something I have loads of. I just never really took the time to develop it or stick with anything, because deep down I probably thought I couldn't do it.

All my life I've been sabotoging my attempts to find a talent by giving up too easily. It's time to have a little faith in myself and stick with it. So my goal for the new year, 2012, is to attempt at least one creative project per week by attempting to recreate projects I found online, or (gasp!) that I actually came up with myself. My blog is to keep track of these projects and give me yet another creative outlet. I am excited to see if I will really develop a talent by the end of the year, but regardless, the journey should be interesting. Stay tuned!